Using a belt sander is one of the fastest ways to smooth out rough wood, remove old finishes, or level uneven surfaces. It’s a powerful tool; when used correctly, it can save you a lot of time and effort.
This article will walk you through what a belt sander is, when to use it, how to set it up, and step-by-step instructions for using it safely. Whether you’re working on a DIY project or just learning the ropes, these tips will help you get better results without damaging your material.
What Is a Belt Sander and What Does It Do?
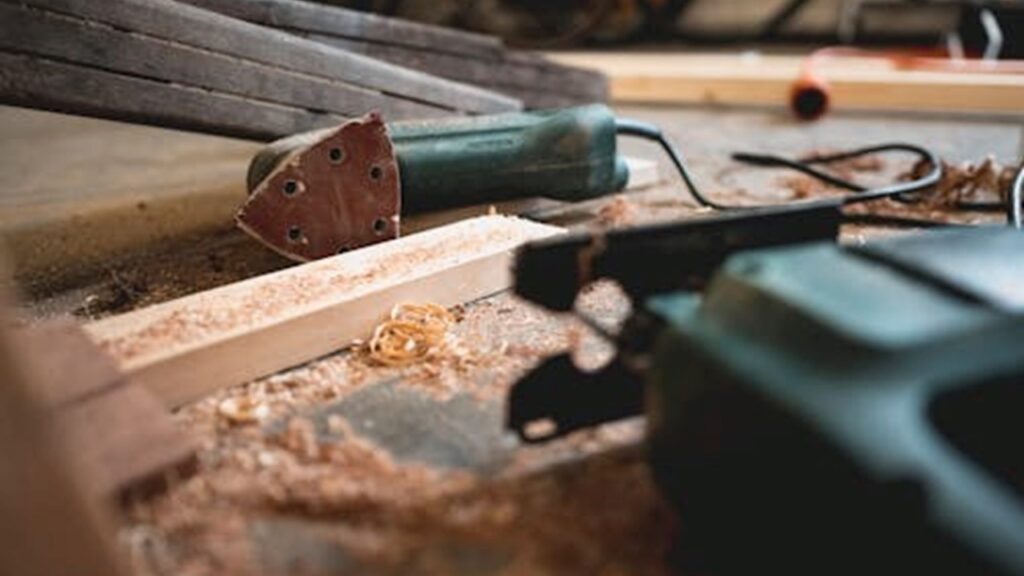
A belt sander is a power tool that uses a loop of sandpaper, called a sanding belt, to remove material quickly. The belt runs over two rollers and moves in a straight line, making it great for sanding large, flat surfaces like tabletops, doors, or rough lumber.
Because of its speed and strength, a belt sander is best used during the early stages of a project, when you need to strip off a lot of material or level things out. It’s not made for delicate work or fine finishing, but it gets the rough jobs done fast.
When and Why to Use a Belt Sander
You don’t need a belt sander for every woodworking task, but it comes in handy when:
- You’re sanding large, flat areas
- You need to remove paint or stain quickly
- You’re trying to flatten uneven boards
- You’re shaping or trimming to a line
If you try to do these jobs by hand or with a small sander, it can take forever. A belt sander can handle heavy-duty work in a fraction of the time.
Just keep in mind, it removes a lot of material fast. So it’s not the tool for delicate sanding or finishing touches.
Parts of a Belt Sander You Should Know
Before you start using a belt sander, it helps to know the main parts and what they do:
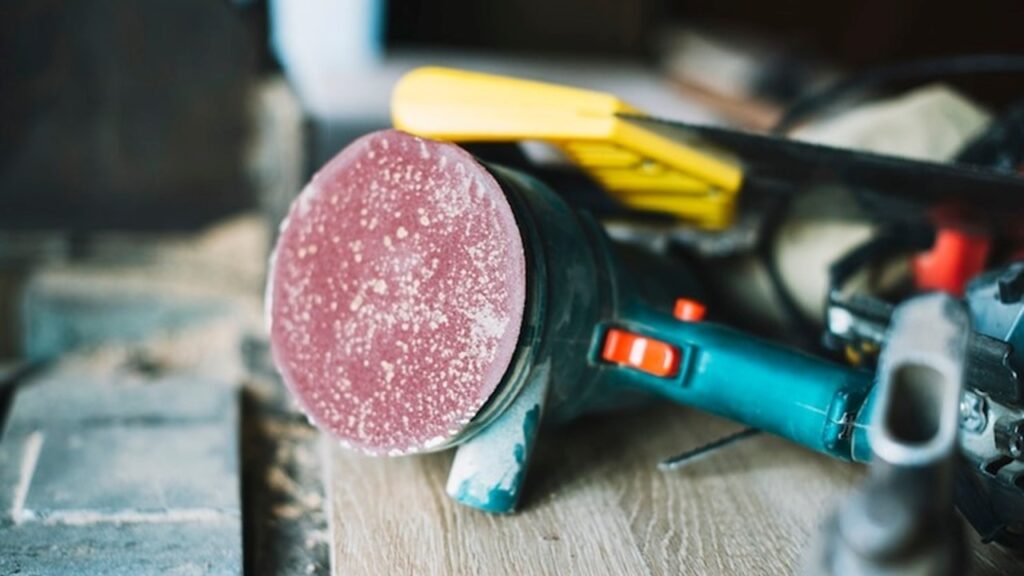
- Sanding Belt – This is the loop of sandpaper that does the actual sanding. You can get different grits for different jobs.
- Rollers – These hold and spin the belt. One roller is usually spring-loaded for tension.
- Tension Lever – This lets you loosen or tighten the belt when changing it.
- Tracking Knob – Used to adjust the belt so it stays centered while running.
- Platen – A flat plate under the belt that gives support and helps apply even pressure.
- Dust Bag or Port – Collects sawdust as you sand. Some models let you hook up a vacuum.
- Trigger and Lock Switch – Turns the tool on and keeps it running without holding the trigger.
- Speed Control (if available) – Some sanders let you adjust the speed for more control.
Knowing these parts will make it easier to set up, adjust, and maintain the tool while you work.
Choosing the Right Sanding Belt
Before you turn on the sander, make sure you have the right sanding belt for the job. The grit of the belt determines how rough or smooth the sanding will be.
Here’s a quick breakdown:
- 40 to 60 grit – Very coarse. Good for removing paint, stain, or heavy material fast.
- 80 to 100 grit – Medium grit. Great for general sanding or smoothing rough wood.
- 120 to 150 grit – Finer grit. Good for final passes before switching to a lighter sander.
If you’re new to using a belt sander, start with a medium or fine grit like 100 or 120. It’s easier to control and less likely to damage your wood.
Pro tip:
- Zirconia belts (usually blue or purple) last longer and stay sharp compared to regular aluminum oxide belts. They cost a bit more, but they’re worth it for heavy sanding jobs.
- Also, check the size of the belt. Most standard sanders use belts that are 3 inches wide and either 18, 21, or 24 inches long. Always match the belt size to your tool.
How to Use a Belt Sander: Step-by-Step
Step 1: Get Your Workspace Ready
- Work in a well-ventilated area or wear a dust mask.
- Clear the area of anything that could get in the way.
- Put on safety glasses and hearing protection. These sanders can be loud and dusty.
- Make sure your sander is clean and in good working condition.
If your sander has a dust bag, attach it now or connect a vacuum if you have a port.
Step 2: Install the Sanding Belt
- Flip the tension lever to loosen the rollers.
- Slide the belt onto the rollers, making sure the arrows on the belt (if there are any) match the direction the sander spins.
- Lock the lever back in place to tighten the belt.
Turn on the sander briefly to check if the belt is centered. If it moves to one side, use the tracking knob to adjust it until it stays in the middle.
Step 3: Clamp Down the Workpiece
Belt sanders are strong and can pull the wood around if it’s not secured.
- Use clamps to hold your board to the workbench.
- If clamps are in the way, place a thin stop block behind the wood to keep it from sliding.
You want your hands free to guide the sander, not chase the board across the table.
Step 4: Start Sanding
- Hold the sander with both hands. Keep it level.
- Turn it on and let it get up to speed.
- Lower the back of the sander gently onto the wood. Don’t slam it down or press too hard.
Move the sander in long, steady strokes, following the grain of the wood. Slightly overlap each pass. The tool’s weight should do most of the work.
Keep the sander moving at a consistent pace. Stopping in one spot too long can leave gouges or dips in the surface.
Step 5: Check Your Progress
Pause every now and then to inspect the surface. If it looks even and smooth, you’re doing it right.
Switch to a finer grit for the next round if needed. When you’re finished, lift the sander off the wood gently while it’s still running, then turn it off.
Common Mistakes to Avoid
Even though belt sanders are pretty simple to use, they can do more harm than good if used the wrong way. Here are some things to watch out for:
- Pressing too hard. You don’t need to force the sander down. That can leave deep marks and wear out the belt faster. Let the tool’s weight do the work.
- Leaving it in one spot. If you pause too long in one area, you’ll end up with a low spot or gouge. Keep it moving steadily.
- Sanding across the grain. Always sand with the grain of the wood. Going across it can scratch the surface and make it harder to smooth later.
- Using too coarse a grit to start. Coarse grits remove a lot of material fast. If you’re unsure, start with a medium grit and only go coarser if needed.
- Letting the sander run off the edge. When you reach the end of a board, don’t let the front of the sander dip down. It can round off the edge unintentionally. Lift it slightly or support it with a scrap board.
Safety Tips for Using a Belt Sander
Belt sanders are powerful, and while they’re not usually dangerous, they can still cause accidents if you’re not paying attention. Here are a few safety basics to keep in mind:
- Always wear eye and ear protection. The noise can be loud, and wood dust can irritate your eyes.
- Use a dust mask or respirator. Especially if you’re sanding indoors or working with treated wood.
- Unplug the sander before changing the belt or emptying the dust bag. Accidental starts can cause injuries.
- Make sure the trigger is off before plugging it in. Many belt sanders have a lock-on feature that keeps them running even if you let go.
- Avoid sparks near dust. If you’re switching to metal, clean out all the wood dust first. Sparks and dust can lead to fires.
- Secure your work. A loose board can fly out of place and injure you or damage your project.
Taking a few extra minutes to set things up safely is always worth it.
Belt Sander Maintenance Tips
Taking care of your sander keeps it running better and helps your sanding belts last longer. Here’s how to keep it in good shape:
- Clean the tool after each use. Use a small brush, cloth, or compressed air to remove sawdust from vents and moving parts.
- Empty the dust bag often. If it’s full, your dust collection won’t work, and fine dust will get everywhere.
- Use a belt cleaning stick. This removes pitch and debris from the sanding belt and helps it last longer, especially if you work with soft woods like pine.
- Check belt alignment. If the belt keeps drifting, adjust the tracking knob while the sander is running (but off the wood).
- Store it properly. Wind the cord loosely and keep the sander in a dry spot away from humidity.
Extra Tips for Beginners
If you’ve never used a belt sander before, here are a few quick tips to make the learning curve easier:
- Practice on scrap wood first. Get a feel for how the sander moves and how fast it removes material.
- Start with a finer grit. It’s easier to control and less likely to damage the surface if you’re new to it.
- Keep two hands on the sander. It helps you guide it smoothly and keeps the weight even.
- Check your work often. Don’t wait too long to stop and look. It’s easier to correct small problems early than fix big ones later.
Can You Sharpen Tools with a Belt Sander?
Yes, but only for rough sharpening. A belt sander can be used to quickly sharpen garden tools like axes, shovels, or even knives. Just make sure to:
- Remove all the sawdust from the tool first (to avoid fire hazards from sparks).
- Use a zirconia or similar heavy-duty sanding belt.
- Hold the blade at a consistent angle and use light pressure.
This isn’t a replacement for fine sharpening stones or a proper grinder, but it’s great for fast edge touch-ups.
Conclusion
Using a belt sander isn’t hard, but it does take a little practice to get it right. The key is to choose the right grit, keep your workpiece secure, and let the tool do the work without forcing it. Always sand with the grain, keep the sander moving, and check your progress often.
Remember to wear safety gear, clean your sander regularly, and take care of your belts. Whether you’re smoothing rough lumber or removing old paint, a belt sander can save you time and effort when used properly.
FAQs
Can you use a belt sander on plywood?
Yes, but be careful. Belt sanders can take off veneer fast. Use a pencil mark as a visual guide and go slow with lighter grits.
Is a belt sander good for finishing work?
Not really. They’re best for rough work. For final smoothing, use a palm sander or random orbital sander.
Why does my sanding belt keep slipping off?
It’s likely a tracking issue. Adjust the tracking knob while the sander is running to center the belt.
Do I need a variable-speed sander?
It’s helpful but not necessary. Lower speeds are good for more delicate work, but most people do fine with a single-speed model.
How long does a sanding belt last?
It depends on the material and how much you sand. When it stops cutting well or looks glazed over, it’s time to swap it out.
At our core, we’re a group of passionate sanding and polishing equipment enthusiasts. We dive deep into the world of any type of sander and polisher around us. We try to provide as much value to the readers with our information and how to blog articles as possible along with proper information-based reviews as well.