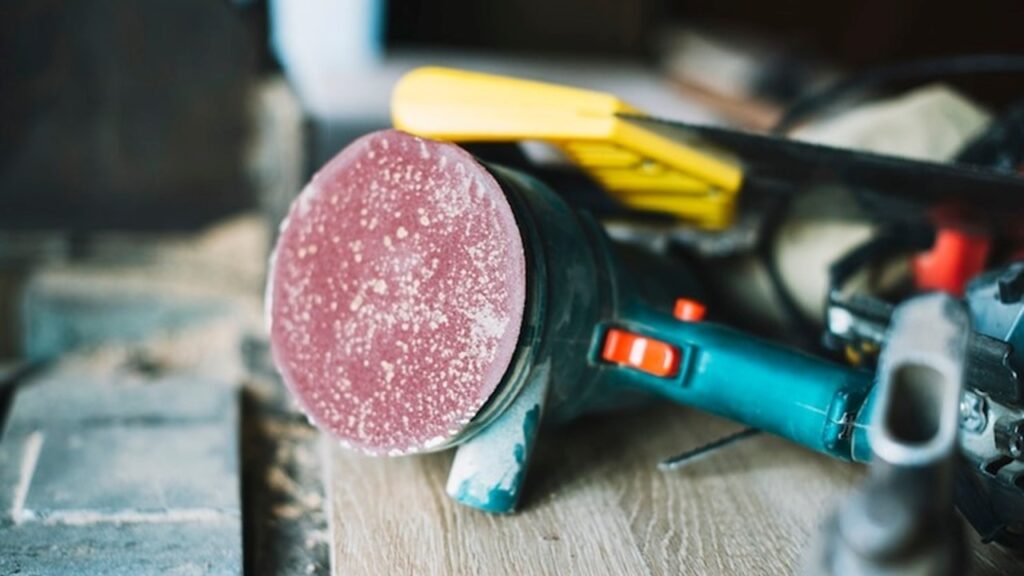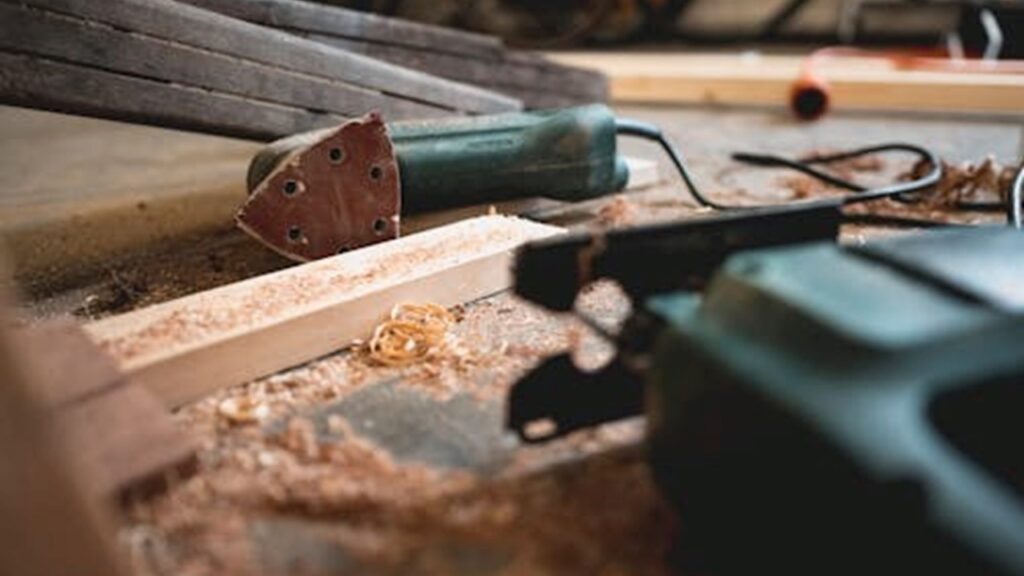
To use an orbital sander, attach the right sanding disc, hold it flat on the surface, and move it slowly without pushing down. The sander’s motor spins the pad in tiny circles, helping you get a smooth, even finish without swirl marks. The dust bag collects most of the sanding dust, while the handle gives you a good grip to control the tool. Some models also have a speed control dial so you can adjust the sanding speed based on your project.
In this guide we are going to cover everything you need to know, including how to pick the right sandpaper, set up your workspace safely, use the sander step by step, avoid common mistakes, and finish your project smoothly.
What Is an Orbital Sander? (Beginner-Friendly Explanation)
An orbital sander is a power tool that uses a round sanding pad to move in small circles, or orbits, while it sands a surface. This random movement helps avoid harsh sanding marks, making it great for smooth finishes on wood, metal, and plastic.
An orbital sander is one of the most beginner-friendly tools for smoothing surfaces. It works by moving a sanding disc in tiny circles, unlike belt sanders that move in a straight line. This helps it blend in scratches and smooth edges without leaving deep marks.
Most orbital sanders are lightweight, easy to hold, and often come with features like a dust bag to collect sawdust, a speed control dial, and a soft grip handle for comfort. Whether you are working on a DIY project or refinishing furniture, an orbital sander can save time and help you get a more even, professional-looking result.
The best part? You don’t have to press down hard or push the tool too fast. Just let it do the work while you guide it across your surface with slow, steady movements.
Key Parts of an Orbital Sander (Know Your Tool)
An orbital sander is made up of several parts that work together to give you a smooth sanding finish. Understanding each part helps you use the tool better and avoid problems.
Here’s a breakdown of the main parts:
- Motor: Powers the sander and spins the sanding pad.
- Sanding Pad: The flat round surface where the sandpaper attaches. It moves in small circles to sand the material.
- Hook-and-Loop System (or PSA for some models): Holds the sandpaper disc in place.
- Dust Collection Bag or Port: Collects sawdust while you sand, helping keep your workspace cleaner.
- Handle and Grip: Where you hold the sander. It’s designed to help you keep control and reduce vibration.
- On/Off Switch: Turns the sander on and off. Usually easy to reach with your thumb.
- Speed Control Dial (if available): Adjusts how fast the pad spins, useful for delicate or detailed sanding work.
- Vent Holes: Helps cool the motor and prevent overheating.
Knowing these parts makes it easier to set up your sander, change sandpaper, and troubleshoot issues as you go.
Why Use an Orbital Sander Instead of Hand Sanding?
An orbital sander works faster, gives a more even finish, and saves you from tired hands. It’s designed to help you sand large areas quickly and without much effort.
Here’s why people love using an orbital sander:
- Saves Time: It can smooth a surface in minutes compared to hours of hand sanding.
- Reduces Fatigue: Less strain on your hands, wrists, and arms, especially on big projects.
- More Consistent Finish: The random orbit motion reduces the chance of leaving deep scratches or swirl marks.
- Versatile: Can handle wood, metal, plastic, and even painted surfaces.
- Easier Dust Control: Many models have built-in dust collection systems, keeping your workspace cleaner.
- Beginner-Friendly: Easier to control than a belt sander or manual sanding block.
Whether you are sanding a table, cabinet, or small DIY craft, an orbital sander makes the job simpler and the results better.
Preparing to Use Your Orbital Sander
Before using an orbital sander, you need to set up your workspace, choose the right sandpaper, and pick the right sanding disc. These steps help you sand safely, get better results, and make the job smoother.
Let’s break it down:
Setting Up Your Workspace
Make sure your work area is clean, well-lit, and free of clutter. If you’re sanding indoors, try to set up near a window or use a dust collection system. Always secure your workpiece using clamps or a vise so it doesn’t shift while sanding. A stable surface makes sanding much safer and easier.
Don’t forget about safety gear. Wear safety glasses to protect your eyes from dust, and use a dust mask or respirator to avoid breathing in fine particles. If the sander is loud, you might also want hearing protection.
Choosing the Right Sandpaper Grit
The grit of sandpaper determines how rough or smooth the finish will be.
Here’s a quick breakdown:
- 40–60 grit: For heavy material removal like paint or rough wood.
- 80–120 grit: Good for smoothing out surfaces.
- 150–220 grit: Ideal for finishing and prepping for paint or stain.
- 240 grit and above: For very fine, smooth finishes.
Start with a lower grit for rough areas, then work your way up to finer grits.
Selecting the Correct Sanding Disc Type
There are different types of sanding discs for different tasks:
- Hook and Loop Discs: Easy to change, great for projects where you switch grits often.
- PSA (Pressure-Sensitive Adhesive) Discs: Stick firmly to the pad but are single-use.
- Mesh Discs: Good for dust collection systems, as they let more dust pass through.
- Wet/Dry Discs: Can be used with water for sanding certain materials like automotive finishes.
Pick the disc type that matches your project needs.
Step-By-Step: How To Use an Orbital Sander Properly
Here is the step-by-step process for using an orbital sander the right way:
- Attach the sanding disc securely.
- Start the sander on the surface, not in the air.
- Move the sander slowly and gently across the surface.
- Check your work regularly.
- Clean up dust and store your sander safely.
Let’s go through each step in more detail:
Step 1: Attach the Sanding Disc Correctly
First, make sure the sander is unplugged or the battery is removed. Align the holes on the sanding disc with the holes on the sander’s pad, especially if you have a dust collection system. Press it down firmly so it sticks flat and doesn’t wobble during use. A good fit makes all the difference in how your sander performs.
Step 2: Starting the Sander
Always place the sander flat on the surface before turning it on. If you turn it on in the air, it might jump and leave scratches or dents when it lands. Let the motor reach full speed before you start moving the sander across the material. This gives you more control and prevents sudden marks.
Step 3: Proper Sanding Techniques
Keep the sander flat and steady on the surface. Move it slowly—about an inch per second. Don’t press down hard. The weight of the tool and your hand is enough. Let the sander do the work. Move in overlapping passes to cover the entire area evenly. If you rush or press too hard, you risk swirl marks, gouges, or uneven surfaces.
Step 4: Checking Your Work
Stop every so often to check your progress. Wipe off the dust with a cloth to get a better look at the surface. If you see rough spots or uneven areas, sand a bit more. This saves you from over-sanding and helps you stay in control of the project.
Step 5: Cleaning Up
When you’re done, turn off the sander and let it stop completely before lifting it off the surface. Empty the dust bag or clean the dust port. Wipe down the sander and store it in a dry place. Cleaning up helps your tools last longer and keeps your workspace safe for the next project.
Common Mistakes to Avoid When Using an Orbital Sander
Using an orbital sander can be simple, but there are a few common mistakes that can ruin your project. Knowing what to watch out for can help you get better results and avoid extra work later.
Here are the most common mistakes:
- Pressing Too Hard: Let the sander do the work. Pushing down can stop the pad from spinning, leave swirl marks, or damage the surface.
- Moving Too Fast: Going too quickly can leave scratches and uneven spots. Move slowly and evenly for the best results.
- Starting or Stopping on the Surface: Always start and stop the sander off the material to avoid digging in.
- Tilting the Sander: Keep the sander flat at all times. Tilting can leave gouges or rounded edges.
- Skipping Grits: Don’t rush through the sanding process by jumping from coarse to fine grits. Follow the proper sanding sequence.
- Not Cleaning the Surface: Dust can clog sandpaper and make your work messy. Wipe down your surface between sanding steps.
Being mindful of these mistakes will help you sand smarter, not harder.
Pro Tips for a Flawless Finish
Getting a smooth, even finish with an orbital sander is easier when you follow a few simple tips. These small tricks can make a big difference in the quality of your sanding.
Here are some pro tips:
- Draw Pencil Marks: Lightly mark the surface before sanding. When the pencil marks disappear, you’ll know you’ve sanded evenly.
- Vacuum Between Grits: Wipe or vacuum the surface when switching grits to avoid leftover dust scratching the surface.
- Finish by Hand: After sanding with the sander, do a final pass by hand with the last grit for the smoothest finish.
- Use Good Quality Discs: Cheap sandpaper wears out fast and can leave scratches. Invest in good discs for better results.
- Change Discs as Needed: Don’t push a worn-out disc too far. A fresh disc sands faster and more evenly.
- Try Anti-Vibration Gloves: If you’re sanding for long periods, gloves can help reduce hand fatigue and vibration.
These tips can help make your sanding projects look professional, even if you’re just starting out.
What Can You Use an Orbital Sander For?
An orbital sander is a versatile tool that can handle many different projects, from woodworking to light metalwork. It’s great for smoothing, shaping, and preparing surfaces for finishing.
Here are some common uses for an orbital sander:
- Smoothing Rough Wood: Perfect for evening out boards and planks before finishing.
- Refinishing Furniture: Great for removing old paint or varnish and prepping for a new coat.
- Prepping Surfaces for Painting: Helps paint or stain stick better by creating a smooth, clean base.
- Sanding Between Coats: Lightly sand between coats of paint or varnish for a professional-looking finish.
- Shaping Edges: Rounds off sharp corners on wood or other materials.
- Light Metalwork: Prepares metal surfaces for painting or coating.
- Smoothing Plastic or Composite Materials: Useful for DIY projects like cutting boards or small crafts.
An orbital sander is a helpful addition to any workshop, whether you’re a beginner or an experienced DIYer.
Safety Tips for Orbital Sander Beginners
Using an orbital sander is generally safe, but you should always follow some basic safety rules to protect yourself and your workspace. A few simple habits can prevent accidents, dust problems, and tool damage.
Here are important safety tips to keep in mind:
- Always Wear Safety Gear: Protect your eyes with safety glasses, wear a dust mask or respirator, and use hearing protection if your sander is loud.
- Keep Cords and Plugs Away: Make sure the power cord stays clear of the sanding area to avoid cutting or tangling it.
- Work in a Well-Ventilated Area: Dust can build up fast, so use a vacuum system or sand near a window or fan.
- Secure Small Items: Clamp down small or loose objects so they don’t move while sanding.
- Unplug When Changing Discs: Always unplug the sander or remove the battery before changing discs or making adjustments.
- Let the Sander Stop Fully Before Lifting: If you pick it up while spinning, you risk damaging your surface.
These safety tips are simple but make a big difference in how smoothly and safely your sanding projects go.
Conclusion
Using an orbital sander the right way can make your woodworking or DIY projects much easier. It saves time, gives a smooth, professional-looking finish, and works well on wood, metal, and plastic.
This guide covered how to choose the right sandpaper, set up your workspace, and follow proper sanding techniques step by step. We also talked about common mistakes, safety tips, and pro tricks to help you get the best results from your orbital sander.
Whether you’re sanding a tabletop, prepping a fence, or refinishing furniture, knowing how to use an orbital sander can help you work faster, safer, and with better results every time.
Related FAQs
Can I Use an Orbital Sander on Painted Surfaces?
Yes, but use a coarser grit for paint removal and switch to finer grits for smoothing.
Why Is My Orbital Sander Leaving Swirl Marks?
Likely from moving too fast, using uneven pressure, or dull sandpaper.
Can I Use an Orbital Sander for Metal?
Yes, with the correct discs. Look for metal-rated abrasives and lower speeds.
How Do I Avoid Clogged Sandpaper?
Vacuum the surface between passes and use mesh or anti-clog discs for dusty materials.
What Safety Gear Do I Need?
Safety glasses, dust mask or respirator, hearing protection, and gloves for vibration.

At our core, we’re a group of passionate sanding and polishing equipment enthusiasts. We dive deep into the world of any type of sander and polisher around us. We try to provide as much value to the readers with our information and how to blog articles as possible along with proper information-based reviews as well.


