Sanding wood isn’t the most glamorous part of a project, but it’s one of the most important. Whether you’re building a new table or bringing an old dresser back to life, sanding helps you get that clean, smooth surface that makes the finish look great.
Skipping this step can lead to a patchy paint job, uneven stain, or a rough surface that just doesn’t feel right.
But the good news? Sanding isn’t hard once you know what to do. This guide breaks it down step by step so even first-timers can get great results.
Why Sanding Wood Is Worth the Effort
Sanding might seem like an extra chore, especially if the wood already looks pretty smooth. But looks can be deceiving.
Here’s why sanding matters:
- It removes rough patches and splinters. Even brand-new boards can have tiny fibers sticking up or uneven spots that you’ll only notice once you run your hand over them—or worse, after you’ve painted.
- It helps your finish stick better. Whether you’re using stain, paint, or a clear coat, smooth wood with open pores will absorb it more evenly. That means a cleaner, more professional-looking result.
- It brings out the wood’s natural grain. Proper sanding can enhance the texture and beauty of the wood, especially if you’re going for a raw or natural finish.
- It prevents future problems. If you try to finish unsanded wood, you might run into peeling, chipping, or uneven spots down the line.
So while sanding might not be fun, it saves you a lot of trouble later on.
What You’ll Need Before You Start
Before picking up your sandpaper, make sure you’ve got the basics covered. Having the right tools and supplies will make the whole process smoother and more effective.
Here’s a simple checklist to get you started:
- Sandpaper in different grits – You’ll usually need a few grit levels for each job: something coarse to start, and finer grits to finish.
Sanding block or sponge – These help you apply even pressure when sanding by hand. - Orbital or belt sander – If you’re working on a big surface, power tools can save time and energy. Not required, but very helpful.
- Dust mask or respirator – Sanding creates a lot of fine dust that you really don’t want in your lungs.
- Safety goggles – Protects your eyes from flying particles.
- Gloves (optional) – For grip and comfort, especially with power sanders.
- Tack cloth or a slightly damp rag – Use this to wipe away dust between sanding stages so you don’t trap grit under your finish.
Pro tip: If you’re sanding indoors, lay down a drop cloth or old sheet to catch dust and make cleanup easier.
Understanding Sandpaper Grits (And When to Use Each)
“Grit” refers to how rough or fine the sandpaper is. It’s measured by numbers. The lower the number, the rougher the paper.
Think of it like this: coarse sandpaper is like gravel. Fine sandpaper is more like flour. Each one has its job.
Coarse Grit (40–60)
This is the heavy-duty option. Use it when you need to:
- Strip paint or stain
- Smooth out rough, splintery wood
- Remove dents or damage
Just be careful. Coarse grit removes a lot of material quickly. It’s easy to go too far, especially on soft wood or delicate edges.
Medium Grit (80–120)
This is your go-to for everyday sanding. Use it after coarse sanding or on projects that don’t need major surface shaping. It’s good for:
- Smoothing out rough surfaces
- Prepping bare wood for paint or stain
- Cleaning up marks left by coarse grit
Most people use this as a “middle step” before moving to fine grit.
Fine Grit (150–220)
Use this to get the surface ready for finishing. It removes light scratches and creates a smooth texture for paint or stain to stick to.
This is also what you’ll use if your wood already feels pretty smooth and just needs a light pass before painting.
Extra Fine (320 and above)
This is for very light sanding between coats of paint or finish. It smooths out bumps or dust nibs without removing too much of what you already applied.
If you’re going for a flawless finish, this final step makes a big difference.
Choosing the Right Type of Sandpaper
Besides grit, sandpaper also comes in different materials. Some are better suited for wood than others.
Aluminum Oxide
This is the most common type. It’s a great all-around choice for sanding wood, metal, or even plastic. It’s tough and lasts a long time, especially if you’re using it with a power sander.
You’ll usually see this brown or reddish sandpaper in hardware stores. If you’re unsure what to buy, this is a safe pick for most woodworking jobs.
Garnet
This one is great for hand sanding. It’s a natural abrasive that gives a smoother finish but doesn’t last as long as aluminum oxide.
If you’re working on furniture or doing detailed sanding by hand, garnet is a good option for those finishing touches.
Silicon Carbide
This is a sharper, more aggressive type of sandpaper. It’s often used for wet sanding or on surfaces like glass, plastic, or metal.
Some people use it for the final sanding of wood, especially if they want a polished look. But unless you’re doing specialty work, it’s not something beginners need right away.
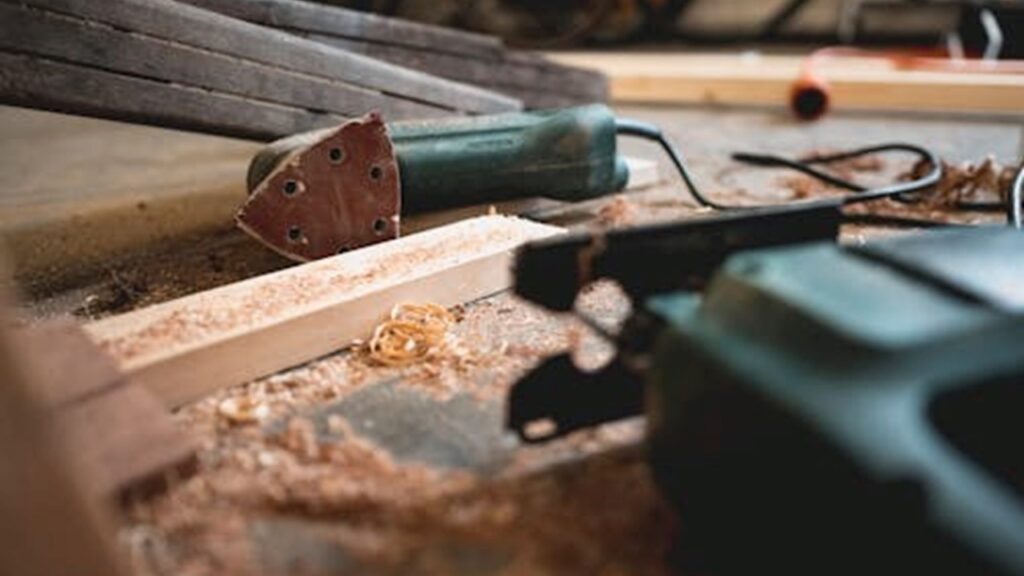
Sanding Tools: Manual vs Power
There’s more than one way to sand wood, and choosing the right sander depends on the size of the job and how much material you need to remove. Some projects only need a bit of light hand sanding, while others call for a power tool that can handle large surfaces quickly.
Here’s a breakdown to help you decide which sanding method makes the most sense for your project:
Hand Sanding
This is the old-school method. Just you, some sandpaper, and elbow grease.
Hand sanding gives you more control, which is helpful on small items, corners, or areas with detail. It’s slower but less likely to cause damage.
If you’re doing a one-off project or working on something delicate, hand sanding is often the better choice.
Sanding Blocks and Sponges
A sanding block is a small tool that holds your sandpaper in place. It helps you apply even pressure and avoid digging into the surface.
Sanding sponges are flexible and great for curves or tight spaces. They’re coated in grit, so they work like sandpaper but bend to fit odd shapes.
You can even wrap sandpaper around a small piece of wood if you don’t have a sanding block.
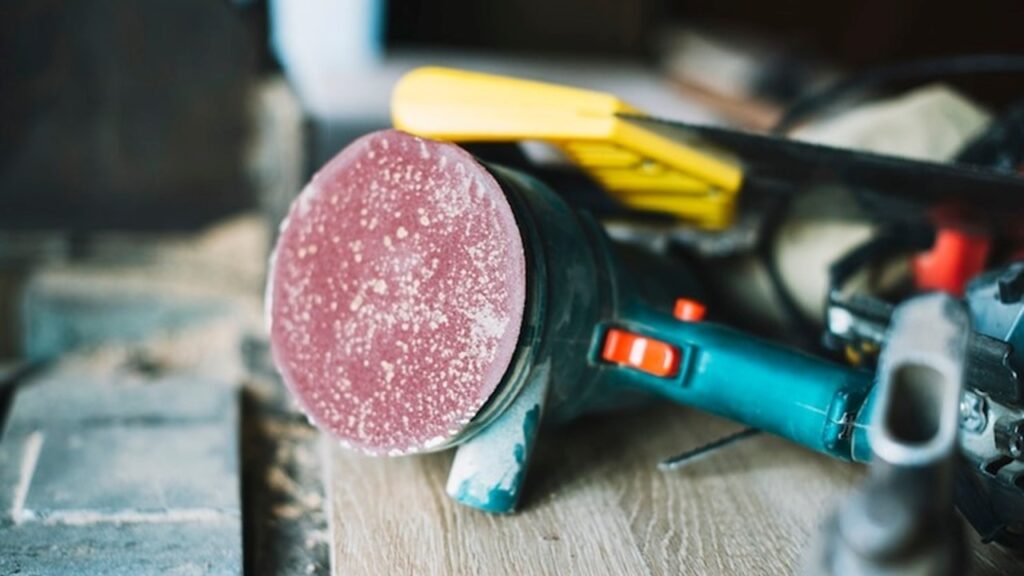
Orbital Sanders
Orbital sanders are powered tools that spin in tiny circles. They’re great for large, flat areas like tabletops, doors, or panels.
They save time and effort, but they can leave swirl marks if you press too hard or stay in one spot too long. Always keep the sander moving and let it do the work.
Belt Sanders
These are stronger and faster than orbital sanders. They use a continuous loop of sandpaper and are ideal for stripping thick finishes or flattening large surfaces.
They can be tricky to control, especially for beginners, and it’s easy to sand too much if you’re not careful.
How To Prep Wood Before Sanding
Before you even touch sandpaper, you need to get the wood ready. Prepping properly saves time and helps you get a cleaner finish.
Here’s what you should do:
- Clean the surface. Wipe away dust, dirt, or grease with a damp cloth or a wood-safe cleaner like mineral spirits. If there’s old paint, stickers, or glue, scrape it off gently.
- Remove hardware. If you’re sanding furniture, take off handles, knobs, hinges, and anything else that might get in the way.
- Look for trouble spots. Check for cracks, dents, or deep scratches. Mark them with a pencil so you remember to focus on them.
- Fill gaps if needed. If there are holes or damage, fill them with wood filler. Let it dry fully before sanding, or it’ll just crumble away.
Skipping this step can lead to clogged sandpaper, uneven sanding, or even scratching the wood instead of smoothing it.
How To Sand Wood: Step-by-Step
Now let’s break it down into a simple, repeatable process. Whether you’re working on a table, a shelf, or a cutting board, this method works for most wood surfaces.
Step 1: Start With Coarse Grit (If Needed)
If your wood is rough, dirty, or covered in an old finish, begin with coarse sandpaper (like 60 or 80 grit).
Use light to medium pressure and work across the entire surface. If you’re using a power sander, keep it moving to avoid creating dips. This first pass removes the rough outer layer, making everything smoother to work with.
Step 2: Move to Medium Grit
Switch to a medium grit (like 120). This step helps smooth out scratches left by the coarse grit and starts evening out the wood surface.
Again, keep pressure even. Don’t push too hard—let the sandpaper do the job.
Step 3: Finish With Fine Grit
Your final sanding pass should be with fine grit sandpaper (180 to 220). This gives the wood that silky finish that’s ready for paint, stain, or oil.
Wipe the surface clean between each grit change. Use a tack cloth or slightly damp rag to get rid of the dust. You don’t want leftover grit scratching the surface as you move to finer sandpaper.
Optional Step: Use Extra Fine Grit Between Finish Coats
If you’re planning to apply stain or paint, you can go the extra mile and sand lightly between coats using extra fine grit (320 or higher). This helps smooth out dust particles or brush marks for a really clean final finish.
Always Sand With the Grain
This is one of the golden rules of sanding: go with the grain, not against it.
The “grain” is the direction the wood fibers naturally run. You can usually see or feel it. Going with the grain keeps the surface looking smooth. Going against it can leave scratches that won’t disappear, even under layers of paint.
Tip: If you’re not sure which way the grain runs, lightly run your fingers or fingernail across the wood. If it feels rough or catches, you’re going against the grain. Flip directions and try again.
Common Sanding Mistakes (And How To Avoid Them)
Even experienced woodworkers mess up from time to time. Here are some common mistakes beginners make—and how to avoid them:
- Pressing too hard. You don’t need to lean on the sander or push hard by hand. This can leave gouges in the wood and wear out your sandpaper fast. Use light, even pressure.
- Skipping grits. Don’t go straight from coarse to fine. Each grit is meant to smooth out the scratches left by the last one. If you skip too far, your surface may still look scratched even after hours of sanding.
- Staying in one spot. This is especially a problem with power sanders. Always keep the sander moving in slow, steady motions.
- Not wiping away dust. Dust can clog your sandpaper and get trapped in the finish. Clean up between each sanding step.
- Over-sanding edges. It’s easy to round off edges by accident, especially with a belt sander. Go gently around corners and switch to hand sanding if needed.
- Going against the grain. We already said it once, but it’s worth repeating. Always sand in the direction of the grain for the smoothest finish.
Sanding Between Coats of Paint or Finish
If you’re painting or staining your project, don’t stop sanding after the first coat. Sanding lightly between coats helps you:
- Remove dust, tiny bubbles, or brush marks
- Smooth out drips or rough spots
- Create a surface that the next layer can stick to better
Here’s how to do it:
- Let the coat dry completely. Don’t rush this. If it still feels tacky, wait longer.
- Use extra fine grit sandpaper—usually 320 or higher.
- Sand lightly with your hand or a sanding pad. No pressure needed.
- Wipe off the dust with a tack cloth or microfiber towel.
Doing this after each coat gives your final finish that pro-level smoothness. It’s a small step, but it really makes a difference.
Fixing Common Sanding Problems
Even if you’re careful, a few things might go wrong. Here’s how to spot and fix the most common issues.
Swirl Marks
Swirl marks usually come from orbital sanders or using sandpaper in circles. They’re easier to see after staining or painting.
How to fix it:
- Sand the area again by hand with fine grit (220 or above), moving with the grain.
- If they’re still visible, step down one grit and blend the area gently.
Scratches
Scratches can happen if you press too hard, use worn-out paper, or skip grits.
How to fix it:
- Go back to the last grit you used and sand lightly.
- Then move up gradually to finer grit again.
- Always sand with the grain and check your work under good lighting.
Uneven Surfaces
This happens when you stay in one spot too long, use uneven pressure, or don’t clean between grits.
How to fix it:
- Use a flat sanding block to re-level the area.
- Apply light, even pressure and re-sand with medium grit.
- Follow up with fine grit and wipe clean.
Final Tips for a Smooth Finish
To wrap things up, here are a few tips to help you get the best possible result from your sanding efforts:
- Take your time. Rushing leads to mistakes. Slow and steady is the way to go.
- Check as you go. Run your hand over the wood to feel for bumps or rough areas. Use a flashlight if needed.
- Change sandpaper often. Dull paper doesn’t work well and can leave scratches.
- Clean the surface before finishing. Dust or leftover grit can ruin your paint or stain job.
- Use quality materials. Cheap sandpaper might save money upfront but wears out fast and causes more work in the long run.
Final Words
Sanding wood doesn’t have to be complicated. Once you understand the steps—prep the surface, choose the right grit, use steady pressure, and work with the grain—it becomes a pretty satisfying part of the project.
Whether you’re refinishing a piece of furniture or working on a DIY shelf, proper sanding sets the foundation for a clean, professional look. Be patient, take it one step at a time, and your finished piece will thank you.
At our core, we’re a group of passionate sanding and polishing equipment enthusiasts. We dive deep into the world of any type of sander and polisher around us. We try to provide as much value to the readers with our information and how to blog articles as possible along with proper information-based reviews as well.