Sanding tools are a big help in any workshop, whether you are smoothing wood, prepping metal, or refinishing furniture.
But like any power tool, your sander needs regular care to keep working properly. A well-maintained sander lasts longer, gives better results, and helps avoid unexpected breakdowns.
Whether you are using a belt sander, orbital sander, or palm sander, these simple tips will help you take better care of your tool.
1. Unplug Before You Do Anything
Before touching any part of your sander, always unplug it from the power source. If you’re using a cordless model, remove the battery.
This step is basic but very important. It protects you from electrical shock and keeps the tool from accidentally turning on while you’re cleaning or inspecting it.
Many accidents happen because people skip this simple step, so make it a habit every time.
2. Clean the Dust After Every Use
Every time you use your sander, it creates fine dust that can sneak into the motor, vents, and moving parts. If that dust builds up, it can cause overheating or even shorten the life of the tool.
Here’s what you can do after each use:
- Wipe down the sander with a dry cloth to remove surface dust.
- Use a soft brush or vacuum to clean vents and crevices.
- For stubborn dust, gently blow it out using compressed air (just make sure to wear safety glasses and a mask).
- If your model has a dust collection system, empty the bag or container completely.
Keeping your sander clean only takes a few minutes but can prevent big problems down the road.
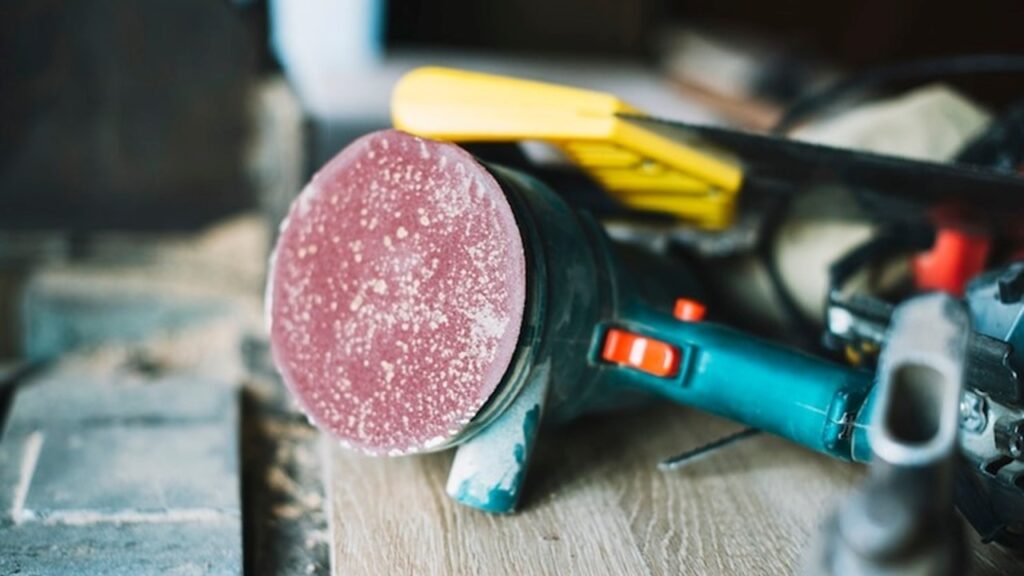
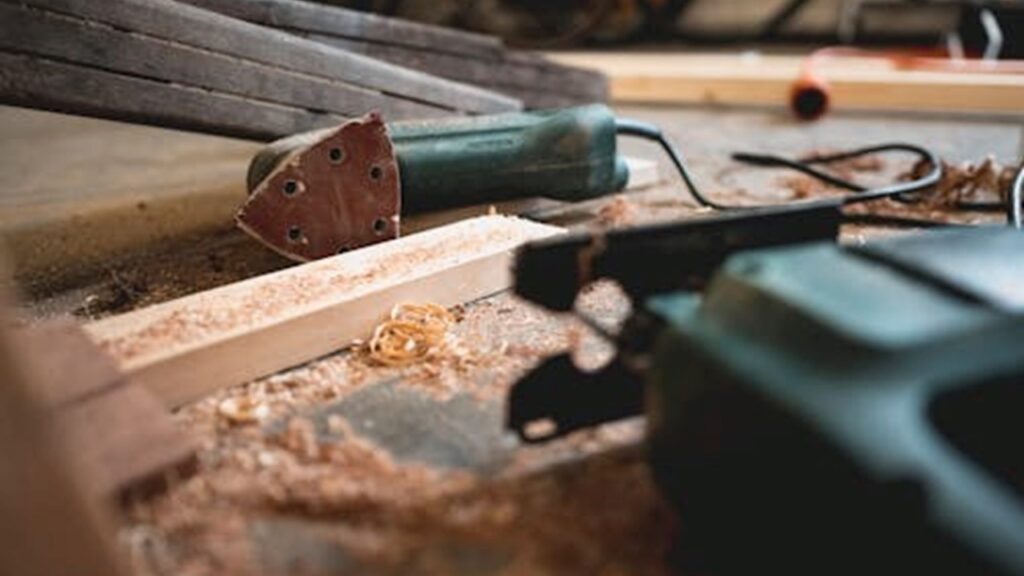
3. Check and Replace Sanding Pads Regularly
If the sanding pad or sandpaper is worn out or damaged, your sander will not work properly. You might notice uneven sanding, reduced grip, or even strange vibrations during use.
Here’s how to handle this:
- Inspect the sanding pad before and after each use. Look for wear, peeling edges, or smooth spots that no longer grip the sandpaper.
- If the pad uses hook-and-loop (Velcro), make sure it still holds the sandpaper firmly.
- Replace the pad or sandpaper if it’s torn, clogged with dust, or no longer sanding evenly.
- Always use the correct size and type of sandpaper for your sander.
Using fresh sandpaper not only gives better results but also puts less strain on the motor.
4. Use the Right Sandpaper for the Job
Not all sandpaper is the same, and using the wrong type can make your sander work harder than it needs to. If the grit is too coarse for a fine finish, or too fine for rough material, the motor can get overloaded and the results won’t look good either.
Stick to high-quality sandpaper that’s designed for your specific sander. If you’re working on wood, metal, or paint removal, choose the grit based on the stage of the project.
Also, avoid reusing worn-out sandpaper. Once it stops cutting efficiently, it starts dragging and can heat up the tool. Replacing it early keeps both your work and your sander in better shape.
5. Empty or Clean Dust Collection Bags and Filters
Most sanders come with a built-in dust bag or can be connected to a vacuum. If you ignore it, dust can back up into the tool, block airflow, and overheat the motor. It can also reduce suction power, making your work messier.
Here’s what you should do:
- After each session, remove and empty the dust bag. If it is reusable, give it a good shake outside.
- For models with a filter, check it once a week. Clean it gently with a soft brush or a vacuum.
- If the bag or filter looks damaged or too clogged, it is better to replace it.
Keeping the dust system clean helps your sander breathe properly and run cooler.
6. Inspect Power Cord and Plug
A frayed or cracked power cord can be dangerous. It can cause electric shocks, short circuits, or fires if not fixed in time. Even if your sander still works, do not ignore signs of damage.
Here’s how to stay safe:
- Look over the entire cord before and after using the sander. Check for cuts, twists, or exposed wires.
- Gently tug near the plug to make sure the connection is secure.
- If anything looks off, stop using the tool right away and get the cord repaired or replaced.
Taking five minutes to check the cord can prevent serious injury or damage to your tool.
7. Lubricate Moving Parts (If Required)
Most modern sanders are built with sealed bearings and do not need much lubrication. But some older or heavy-duty models have parts that should be oiled now and then.
Here’s what to do if your model needs it:
- Check your sander’s manual first to see if lubrication is recommended.
- Use a light machine oil to lubricate any exposed moving parts, such as levers, rollers, or pivot points.
- Wipe away any extra oil so dust does not stick to it.
Proper lubrication reduces friction, prevents rust, and helps your tool move smoothly.
8. Schedule a Deep Clean or Tune-Up
Even with regular care, your sander still needs a deeper check every few months. Dust gets into hard-to-reach areas, and wear builds up that you might not notice during daily use. A full clean lets you catch issues before they turn into expensive repairs.
Take some time to open up the casing, if your model allows it, and gently remove built-up dust inside. Check the brushes, bearings, and moving parts for any signs of wear.
If you’re not sure what to look for, consider taking it to a repair shop for a quick tune-up. A little professional help once or twice a year can keep your sander running like new.
9. Tighten Loose Screws and Fasteners
Over time, your sander’s constant vibration can slowly loosen screws, bolts, and other fasteners. If parts start shifting or rattling during use, it can affect performance or even cause damage.
Here’s how to handle it:
- Before each use, take a quick look at all visible screws and fittings.
- Use a screwdriver or Allen key to gently tighten anything that feels loose.
- Pay close attention to the base plate, housing screws, and handle areas.
Keeping everything snug helps your sander stay steady and safe while working.
10. Avoid Overheating the Motor
If you push your sander too hard or use it for long stretches without a break, the motor can overheat. That kind of heat can wear out internal parts and reduce the tool’s life.
To prevent overheating:
- Use light, steady pressure instead of pushing down too hard. Let the tool do the work.
- Take short breaks during long sanding jobs to let the motor cool down.
- Clean the vents often so air can flow freely and cool the motor.
- If the sander starts feeling hot or smells burnt, stop and let it rest.
A cooler motor lasts longer and performs better.
11. Store Your Sander in a Dry, Clean Area
Where and how you store your sander matters more than you might think. Damp places can cause rust, and leaving it out in the open can lead to dust or accidental damage.
To store it safely:
- Keep your sander in a dry spot, away from moisture or humidity.
- Use a case, toolbox, or even a covered shelf to protect it from dust.
- Make sure the cord is coiled loosely and not bent sharply.
- Avoid placing heavy items on top of it.
Good storage keeps your tool clean, dry, and ready for the next project.
Conclusion
A well-maintained sander is a reliable tool that gives smooth results, works efficiently, and lasts for years. You do not need to be a pro or spend hours on maintenance.
Just a few small habits—like cleaning off the dust, checking parts now and then, and using the right sandpaper—can make a big difference.
Whether you’re a weekend DIYer or using your sander every day, these simple tips help protect your investment and make every job easier.
Take care of your tools, and they’ll take care of your projects.
FAQs
How often should I clean my sander?
It’s best to clean off dust after every use. A deeper clean once a month is a good idea if you use it often.
Why is my sander vibrating too much?
Loose parts, worn-out sanding pads, or uneven sandpaper can cause that. Check for anything loose or damaged and fix it before using the tool again.
Can I use my sander without a dust bag?
You can, but it’s not a good idea. Dust will spread everywhere and might get inside the motor. Always use a bag or connect it to a shop vacuum if possible.
What’s the best way to store my sander?
Keep it in a dry, clean place. A toolbox or shelf is fine, just avoid damp areas or leaving it out where dust and dirt can collect.
When should I replace the brushes in my sander?
If your sander loses power or sounds strange, worn motor brushes might be the reason. Check your manual—most brushes need replacing after a few hundred hours of use.
At our core, we’re a group of passionate sanding and polishing equipment enthusiasts. We dive deep into the world of any type of sander and polisher around us. We try to provide as much value to the readers with our information and how to blog articles as possible along with proper information-based reviews as well.